GT500 Automatic Transmission Conversion
I almost didnt buy a GT500 because you cant get one with an automatic in it. Why, I dont know. The 4R70W is a fantastic trans. So why didnt ford offer it? It can handle upwards of 900 horse so durability cant be the reason. A six speed is so much harder on the drive train than an automatic so warranty concerns cant be the reason. Ford did put the weak kneed 5R55S in the Shelby GT, but it probably wouldnt hold up in the GT500.
Anyway, back to the project at hand….. As you probably guessed I’m going with the 4R70W trans. The series means it has Four speeds, Rear wheel drive, torque capacity of 70 X 10 = 700 ft lb at the output of the torque converter, and a Wide ratio gear set. The ratios are 2.84 in 1st, 1.55 in second and 1.00 in 3rd. Although it is an automatic trans, you will have to shift it manually. There are no automatic upshifts with the Transgo shift kit. So if you have the shifter in drive you will start out in 3rd gear (dont do that). To get around the computer wiring nightmare, overdrive and lock-up will be activated electrically by switches. Baumann Electronic Controls does make a stand alone computer and accessories to convert to automatic shift but the tunnel would have to be modified at the shift shaft to make room for the MLPS. I have used their setup in my Cobra replica since 1995 and it works flawlessly.
At FB Performance Transmissions, you can buy the complete package ready to install or parts like a modified neutral lock out factory shifter or a Hurst shifter. Trans mount adapter plate, flex plate and more are available if you are building your own trans.
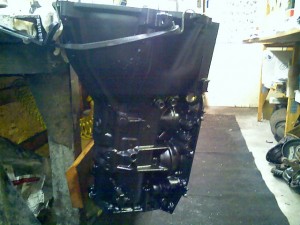
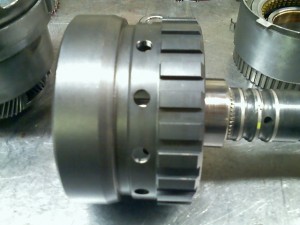
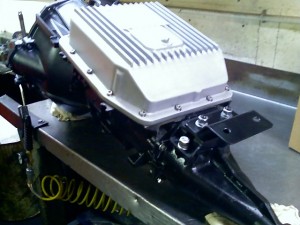
I started with a ’97 4R70W from a 2wd Truck with the 5.4. The case was ceramic coated. It helps reflect heat from the trans and provides a tough coating.
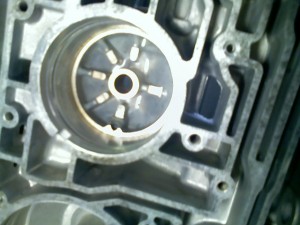
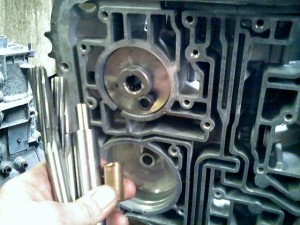
The overdrive servo pin bore is a common place for wear so I installed the repair bushing by reaming the hole with the tools in the kit and used green locktite to hold it in place.
While the trans was apart I had 6 extra holes precision drilled in the ring gear where the output speed sensor gets its signal since the 6 speed trans has 12 steps on its reluctor. That way I didn’t have to recalibrate the speedo. You don’t need to do this if you get a tune done.
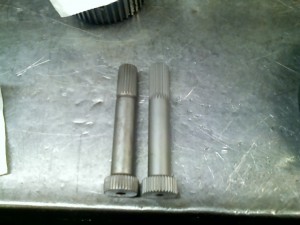
The stub shaft which splines into the direct clutch is known to break so I added a hardened one. The stock one is on the left.
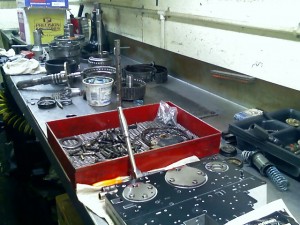
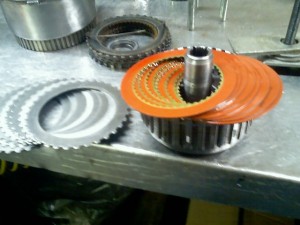
The direct, forward and second clutches get the red friction plates and I converted the direct clutch to an eight disc type for the most holding capacity.
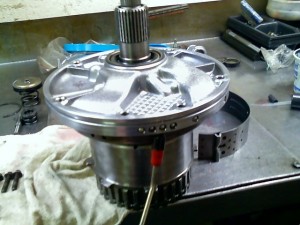
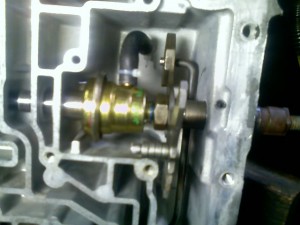
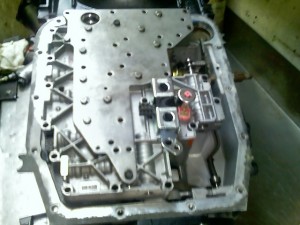
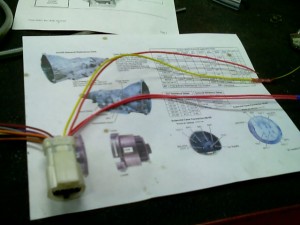
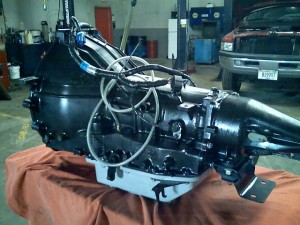
Here you can see the vacuum modulator that gets mounted inside the case in place of the EPC. This way pressure is regulated for the street and the computer is eliminated. Its part of the Transgo shift kit. With the valve body in place you can see the shift solenoids (used for OD only) and the lock-up solenoid. You must have lock-up turned on for your cruise to work if you are running a converter with a stall speed over 2000 rpm. Otherwise the computer senses an RPM difference between the engine and trans and will turn the cruise off. If you want the lock-up feature, dont install the tight wound spring on the TCC valve when installing the shift kit. It wont say that in the instructions or what pin is for lock-up in the case plug. It does show you that in the plug instructions. Only four wires are used at the case plug, Rostra 350-0064. 12 volts, lock-up ground and the two shift solenoid grounds. The shift solenoids are tied together since they are both on in OD. They and the lockup solenoid go to switches in the console hooked to ground. If you want back up lights they are activated by connection through a switch. The wires are shown in a pic below.
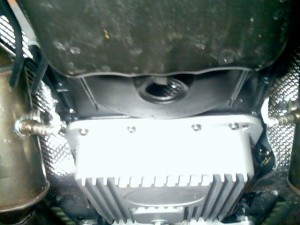
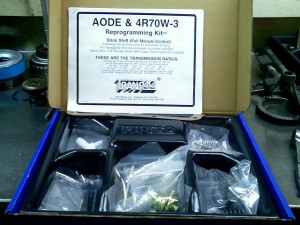
The Transgo Shift Kit and the ceramic coated deep pan.
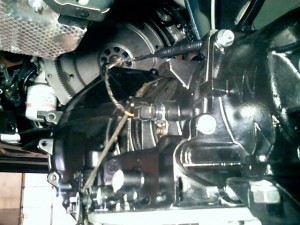
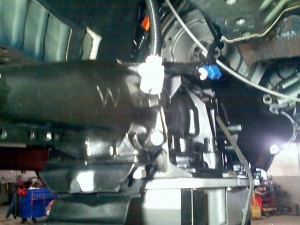
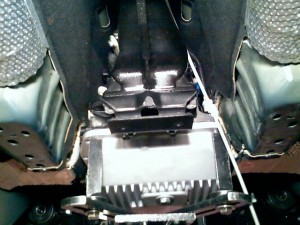
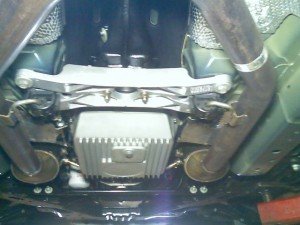
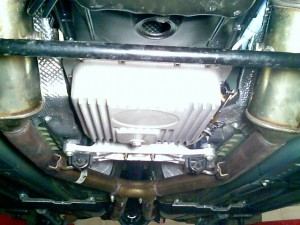
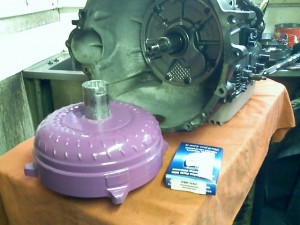
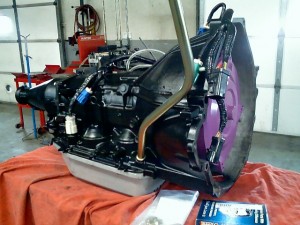
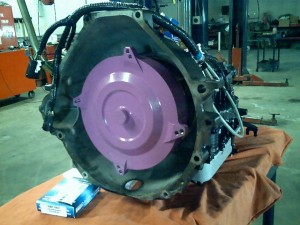
Some pics of the completed trans with the Precision Industries 2000 stall converter. You can see the vacuum modulator line where it goes into the case and a special trans mount and plate from FB Performance. The output speed sensor, F4AZ7H103A, is used to pick up the speedo pulses. The GT500 crossmember wont work so you need one from a 05-09 Mustang GT instead 8R3Z6068E . Crank bolts N606067S439 are needed also. You need Transgo’s vacuum check valve VBP-VAC for the modulator line since its a supercharged application. The trans temp gauge sensor is mounted in the pan at the rear.
The six speed before removal.
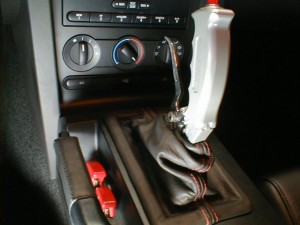
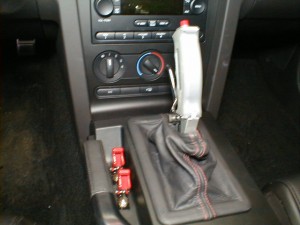
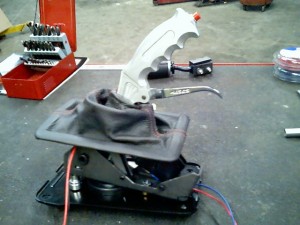
Installing the Hurst Pistol Grip Quarter Stick shifter. I bought the this one from FB Performance since it has the custom shift link and bracket included. They also offer a stock shifter with neutral lockout if you prefer. It mounts on top of the stock tunnel plate and the stock boot makes it look like it came with it. I did have to modify the boot hole to get enough shifter throw. The last pic shows the 1 ohm resistor connected in series with the lock-up switch.
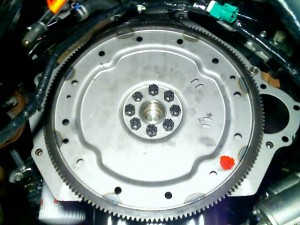
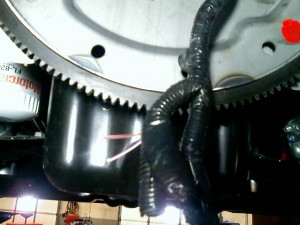
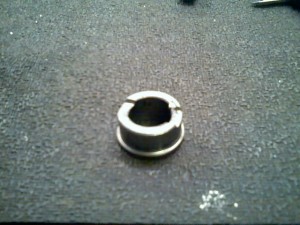
The new flexplate 4C3Z6375AA and two piece separator plate XL3Z7007AA, F1VY7986A and the reverse light wires in the harness which connect inside to the shifter or a switch. To help with the wiring I bought the Ford book FCS1212107. There is a spacer around the pilot bearing that must be removed also.
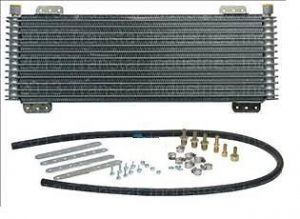
I added the Tru-cool Max LPD47391 cooler to keep the fluid temp down. This cooler really works. The trans was running around 180-190 degrees in traffic. Now 150-165. Cooler line numbers are XR3Z7A030AA and XR3Z7A031AA. The upper line at the trans has to be rebent to clear the underside. The lines must be cut and rebent near the radiator end to connect to the cooler. I mounted the cooler in front of the radiator. You can see the Lokar flexible dipstick tube TD3AODFM. I will be replacing the radiator with a custom made one with a trans cooler built in.
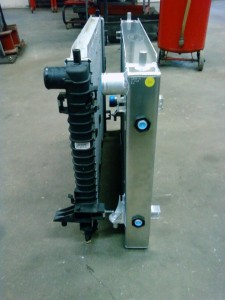
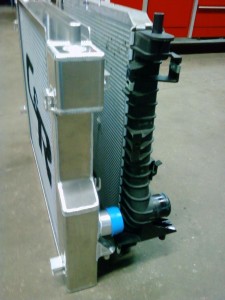
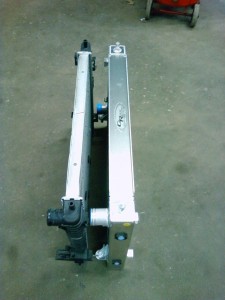
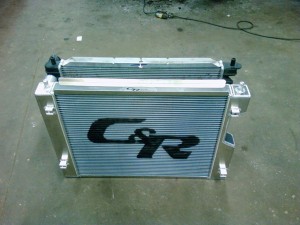
UPDATE: I had C&R Racing custom make a radiator with a trans cooler built in. The internal cooler is much more efficient at cooling the trans than the external type. The new radiator also has much more engine cooling capacity for the future engine mods. As can be seen in the pics the C&R piece is a heavy duty unit compared to the stock radiator.
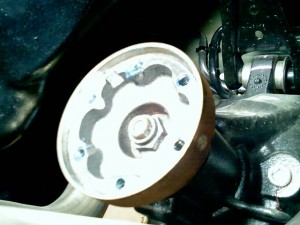
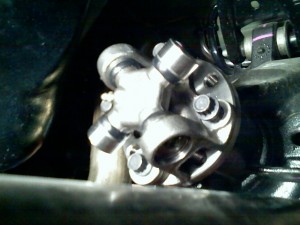
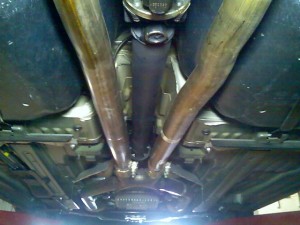
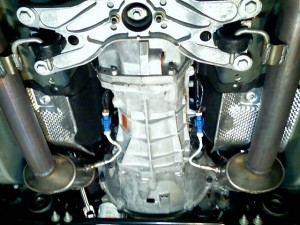
The pinion drive flanges and trans output yoke get changed to standard type and a one piece driveshaft is used. E9SZ4851A, 1R3Z4841EA, E8VY4782A and bolts N800594S100. The first pic is the stock flange. The second is the new one installed, third is the trans yoke and Mustang GT crossmember. A standard type driveshaft will be used. Mine measures 47 1/8″ c-c.
On its way in…
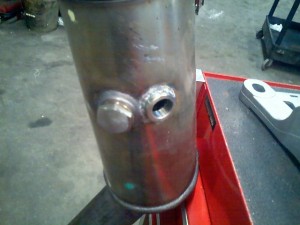
And the only real glitch to the project, if you want to call it that. The O2 monitors had to be repositioned in the converters or they would hit the trans. I used Summit’s G2990SS bungs and G2990SS-1 plugs. They were welded in right below the original holes.
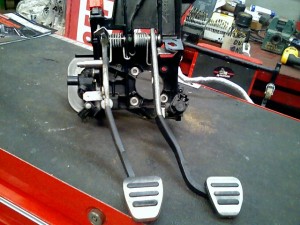
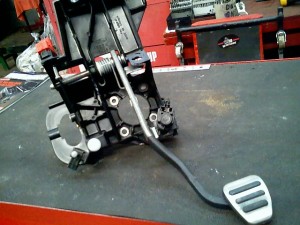
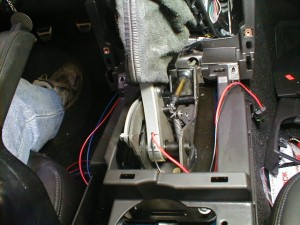
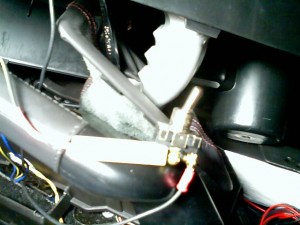
I removed the pedal assembly (6 bolts) and took the clutch master cylinder and clutch pedal off. The hole in the firewall was blocked off with some rubber adhesive material. I cut the wires to the clutch start switch and ran them to the shifter so it starts in park and neutral only.
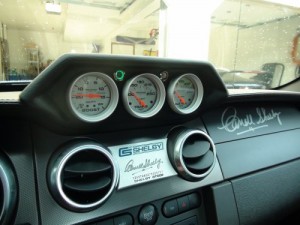
I mounted the overdrive and lock-up switches in the console next to the parking brake lever. Very easy access and hardly noticeable. A trans temp gauge was added with a switch for the heat exchanger cooling fan.
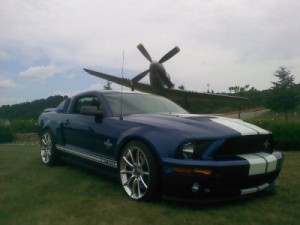
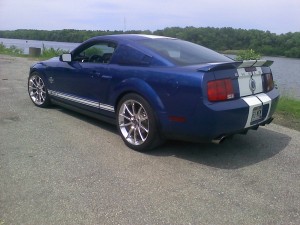
The completed installation.
On the dyno making 651 rwhp.
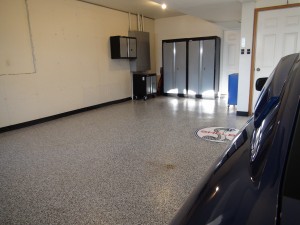
I of course had to fix up my garage so it would be good enough for the car!


![030109_1019[00]](http://www.westcentralauto.com/wp-content/uploads/2013/11/030109_101900-300x225.jpg)
![030109_1019[01]](http://www.westcentralauto.com/wp-content/uploads/2013/11/030109_101901-300x225.jpg)
